

Server Management
Manage your SSH and Windows servers.
Access
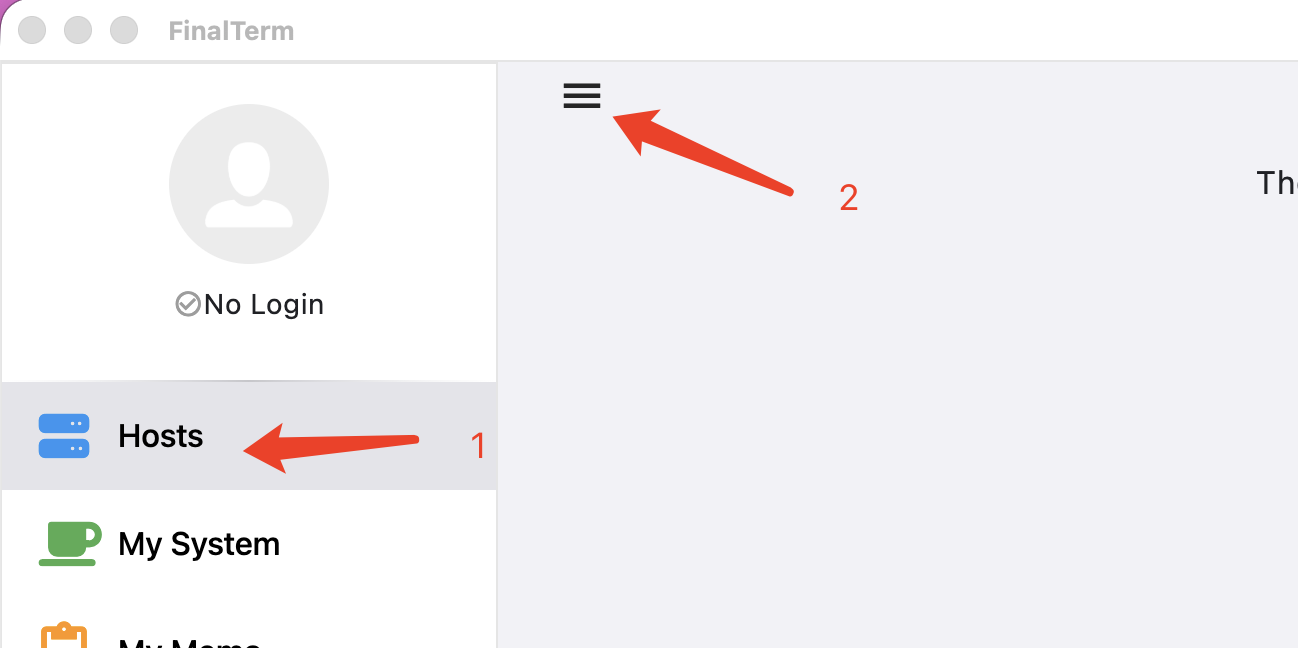
- Select the Servers menu in the sidebar.
- Click the icon in the top-left corner of the content area to open the server management dialog.
Server Management
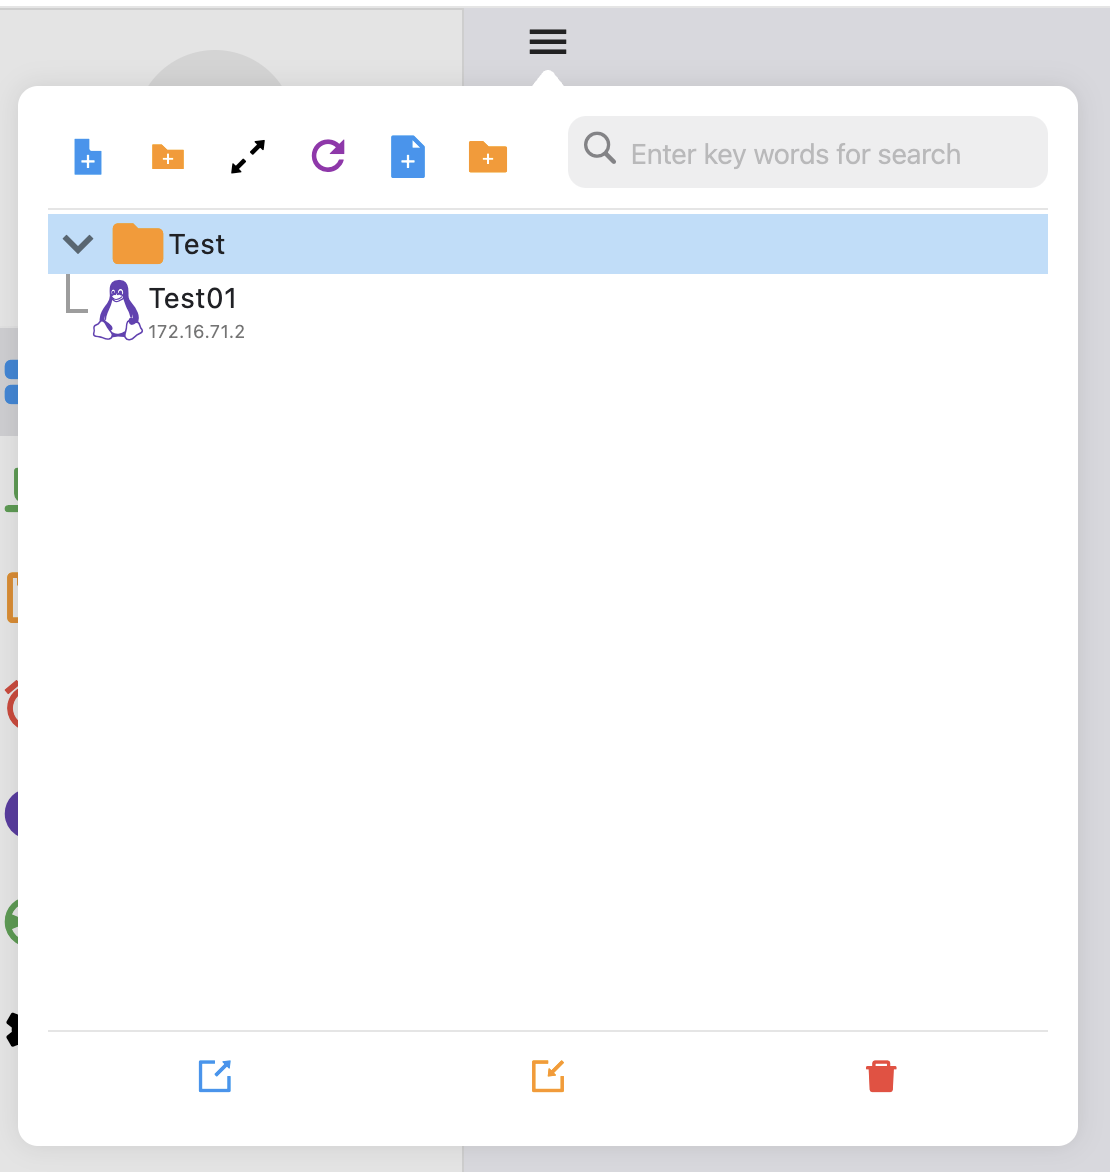
Add Server
- Click the + icon in the top bar of the interface to open the server configuration dialog.
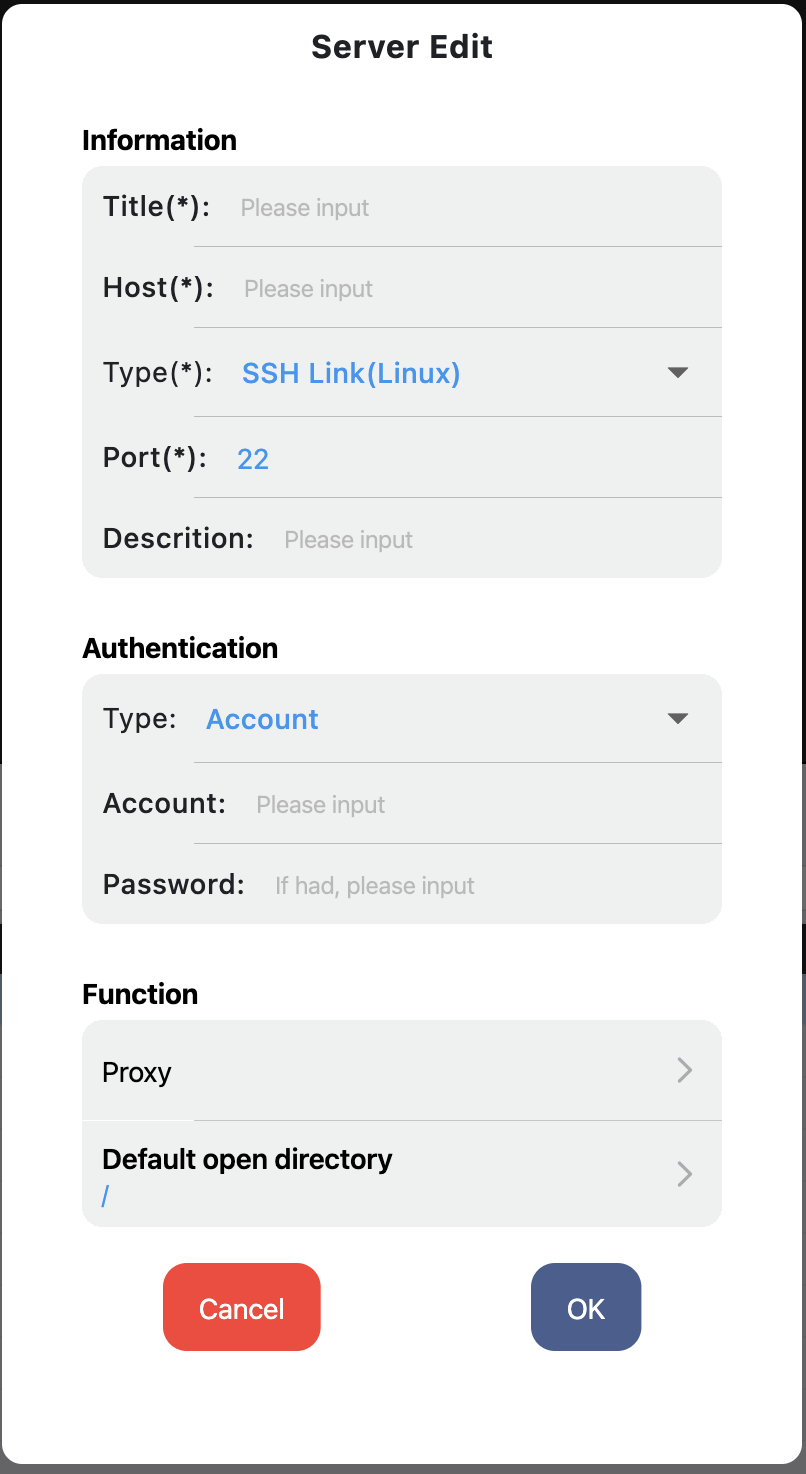
- Enter the corresponding parameters as required by the interface (supports Linux and Windows).
- Click Save to complete the server data creation.
Edit Server
- Select the server you want to edit from the list, right-click and choose Edit from the menu.
- Enter the relevant server parameters in the edit interface.
- Click Save to update the server.
Connect to Linux Server
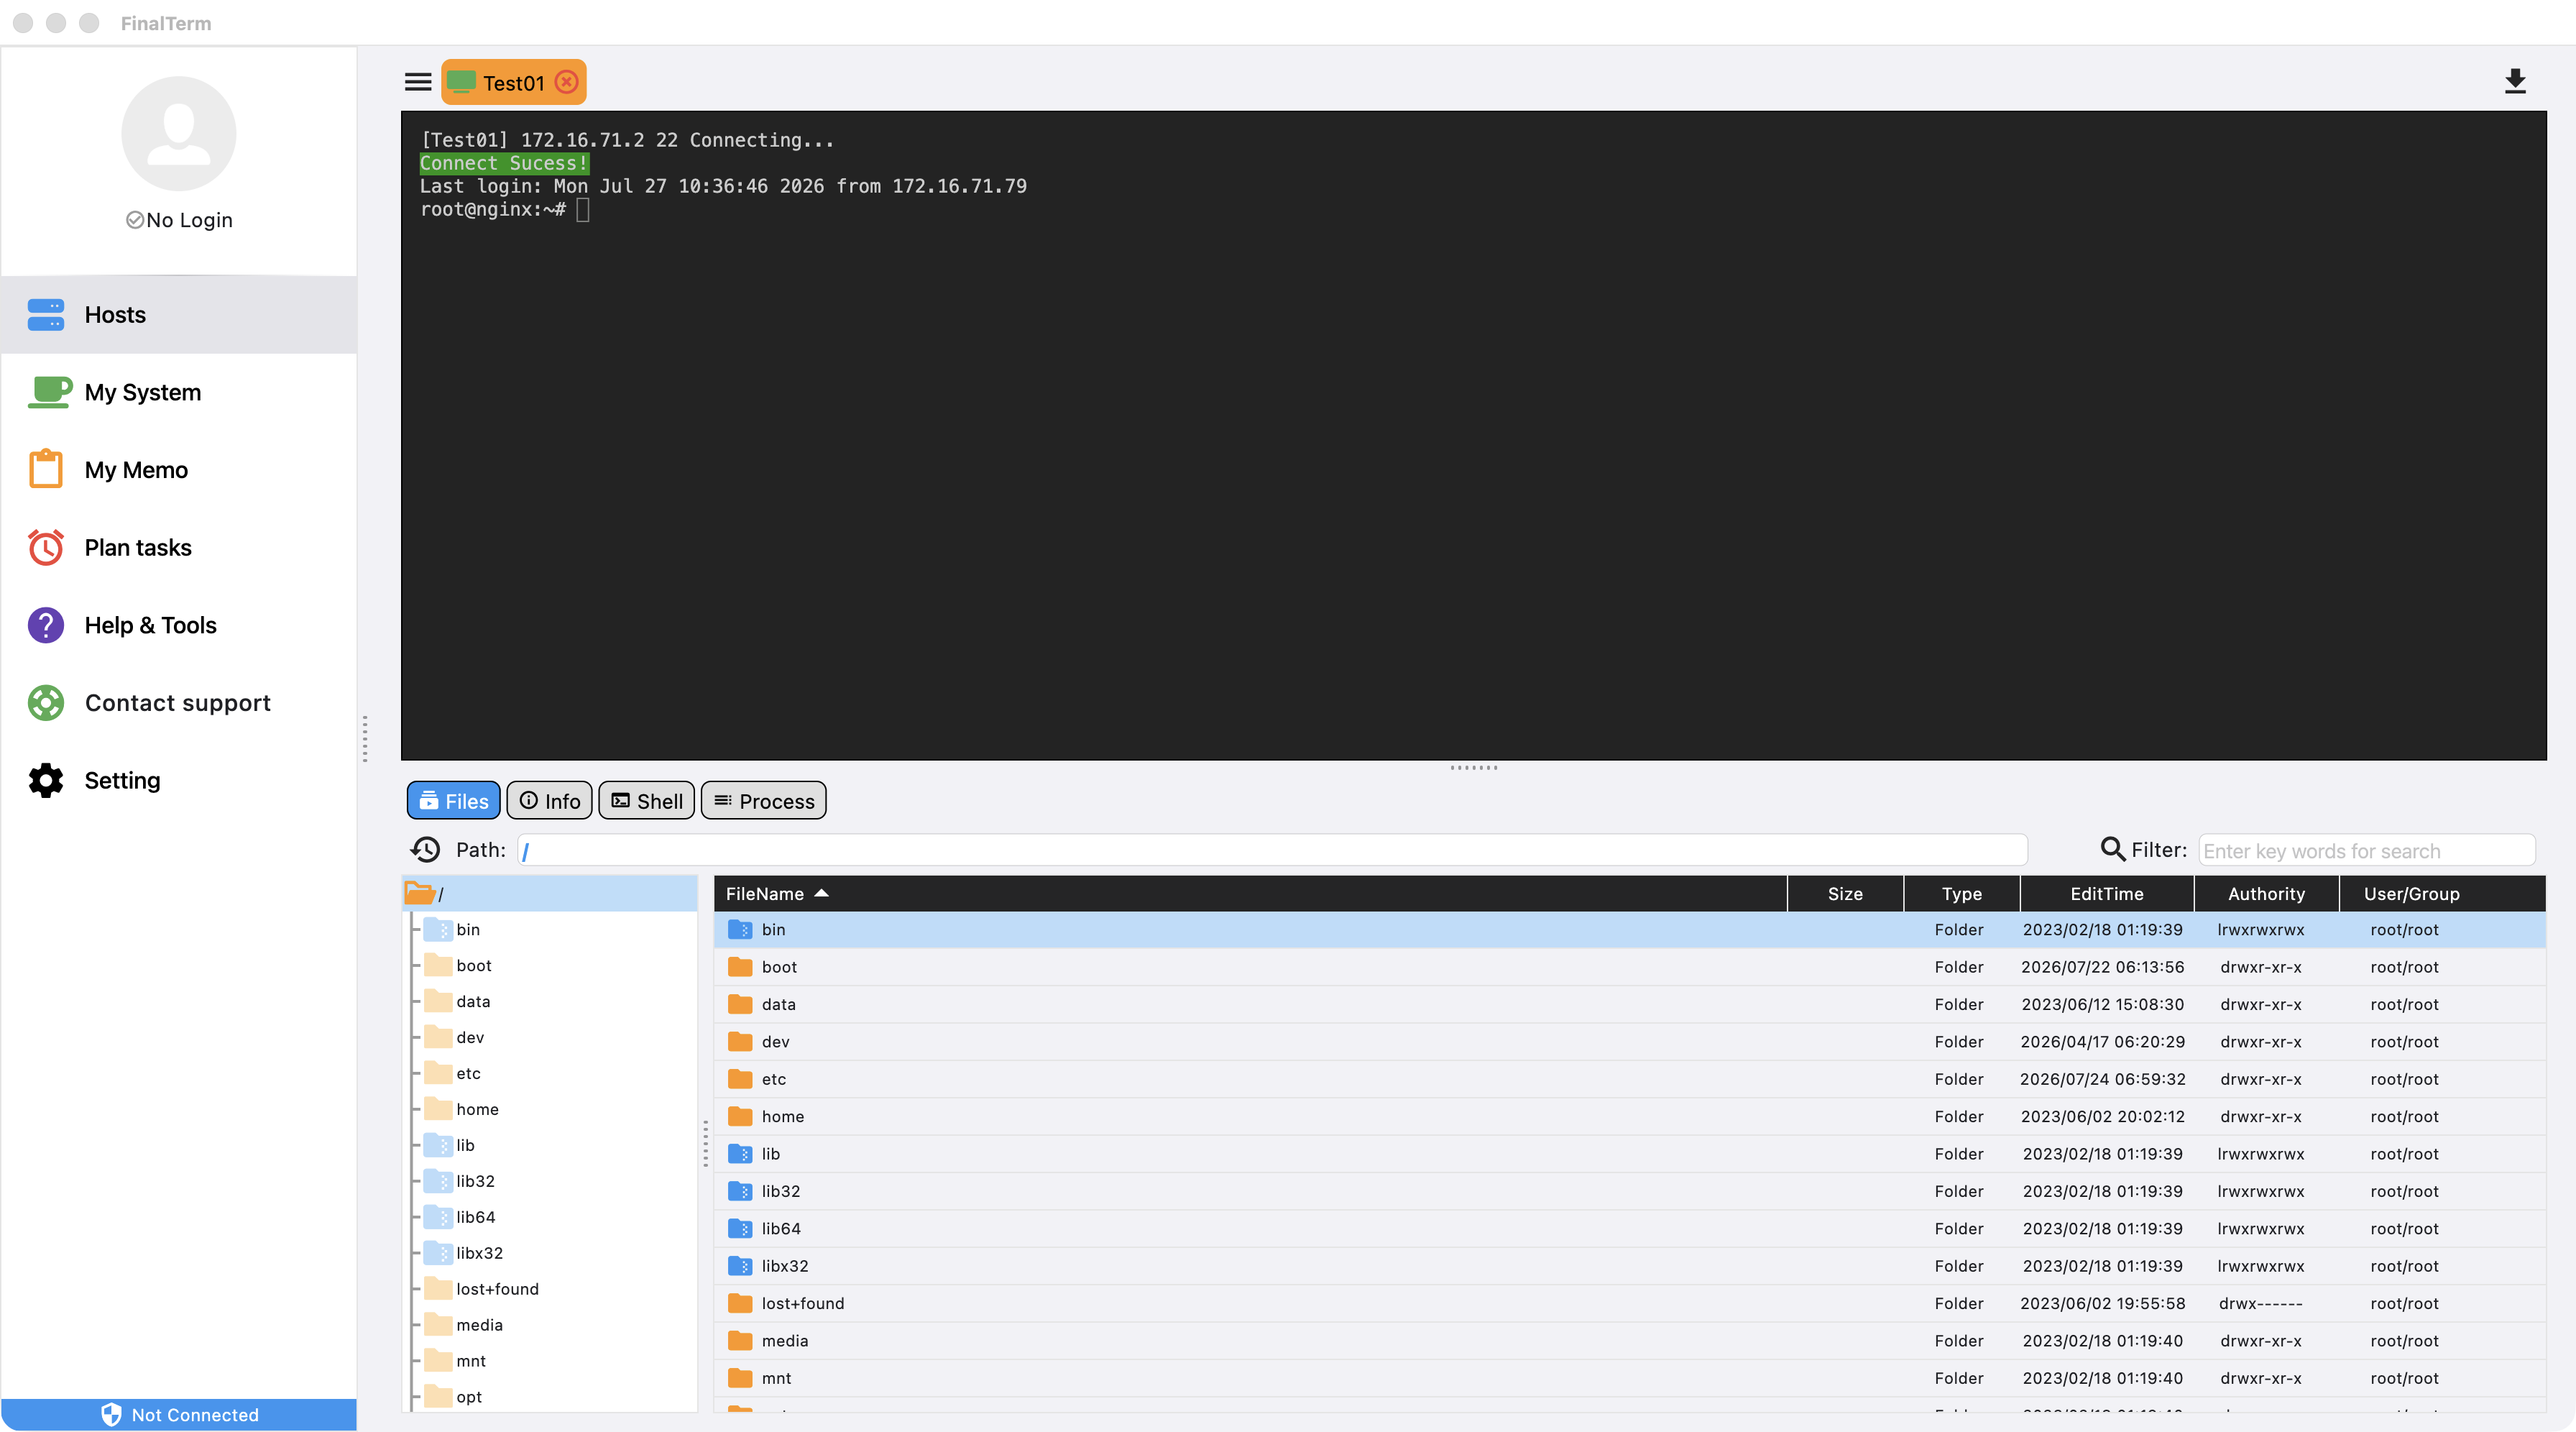 - Select the Linux server you want to connect to from the list, double-click or choose Connect from the right-click menu.
- The SSH connection interface will open in the content area, displaying relevant connection information. Upon success, you will enter the SSH server operation interface.
- Select the Linux server you want to connect to from the list, double-click or choose Connect from the right-click menu.
- The SSH connection interface will open in the content area, displaying relevant connection information. Upon success, you will enter the SSH server operation interface.
Connect to Windows Server
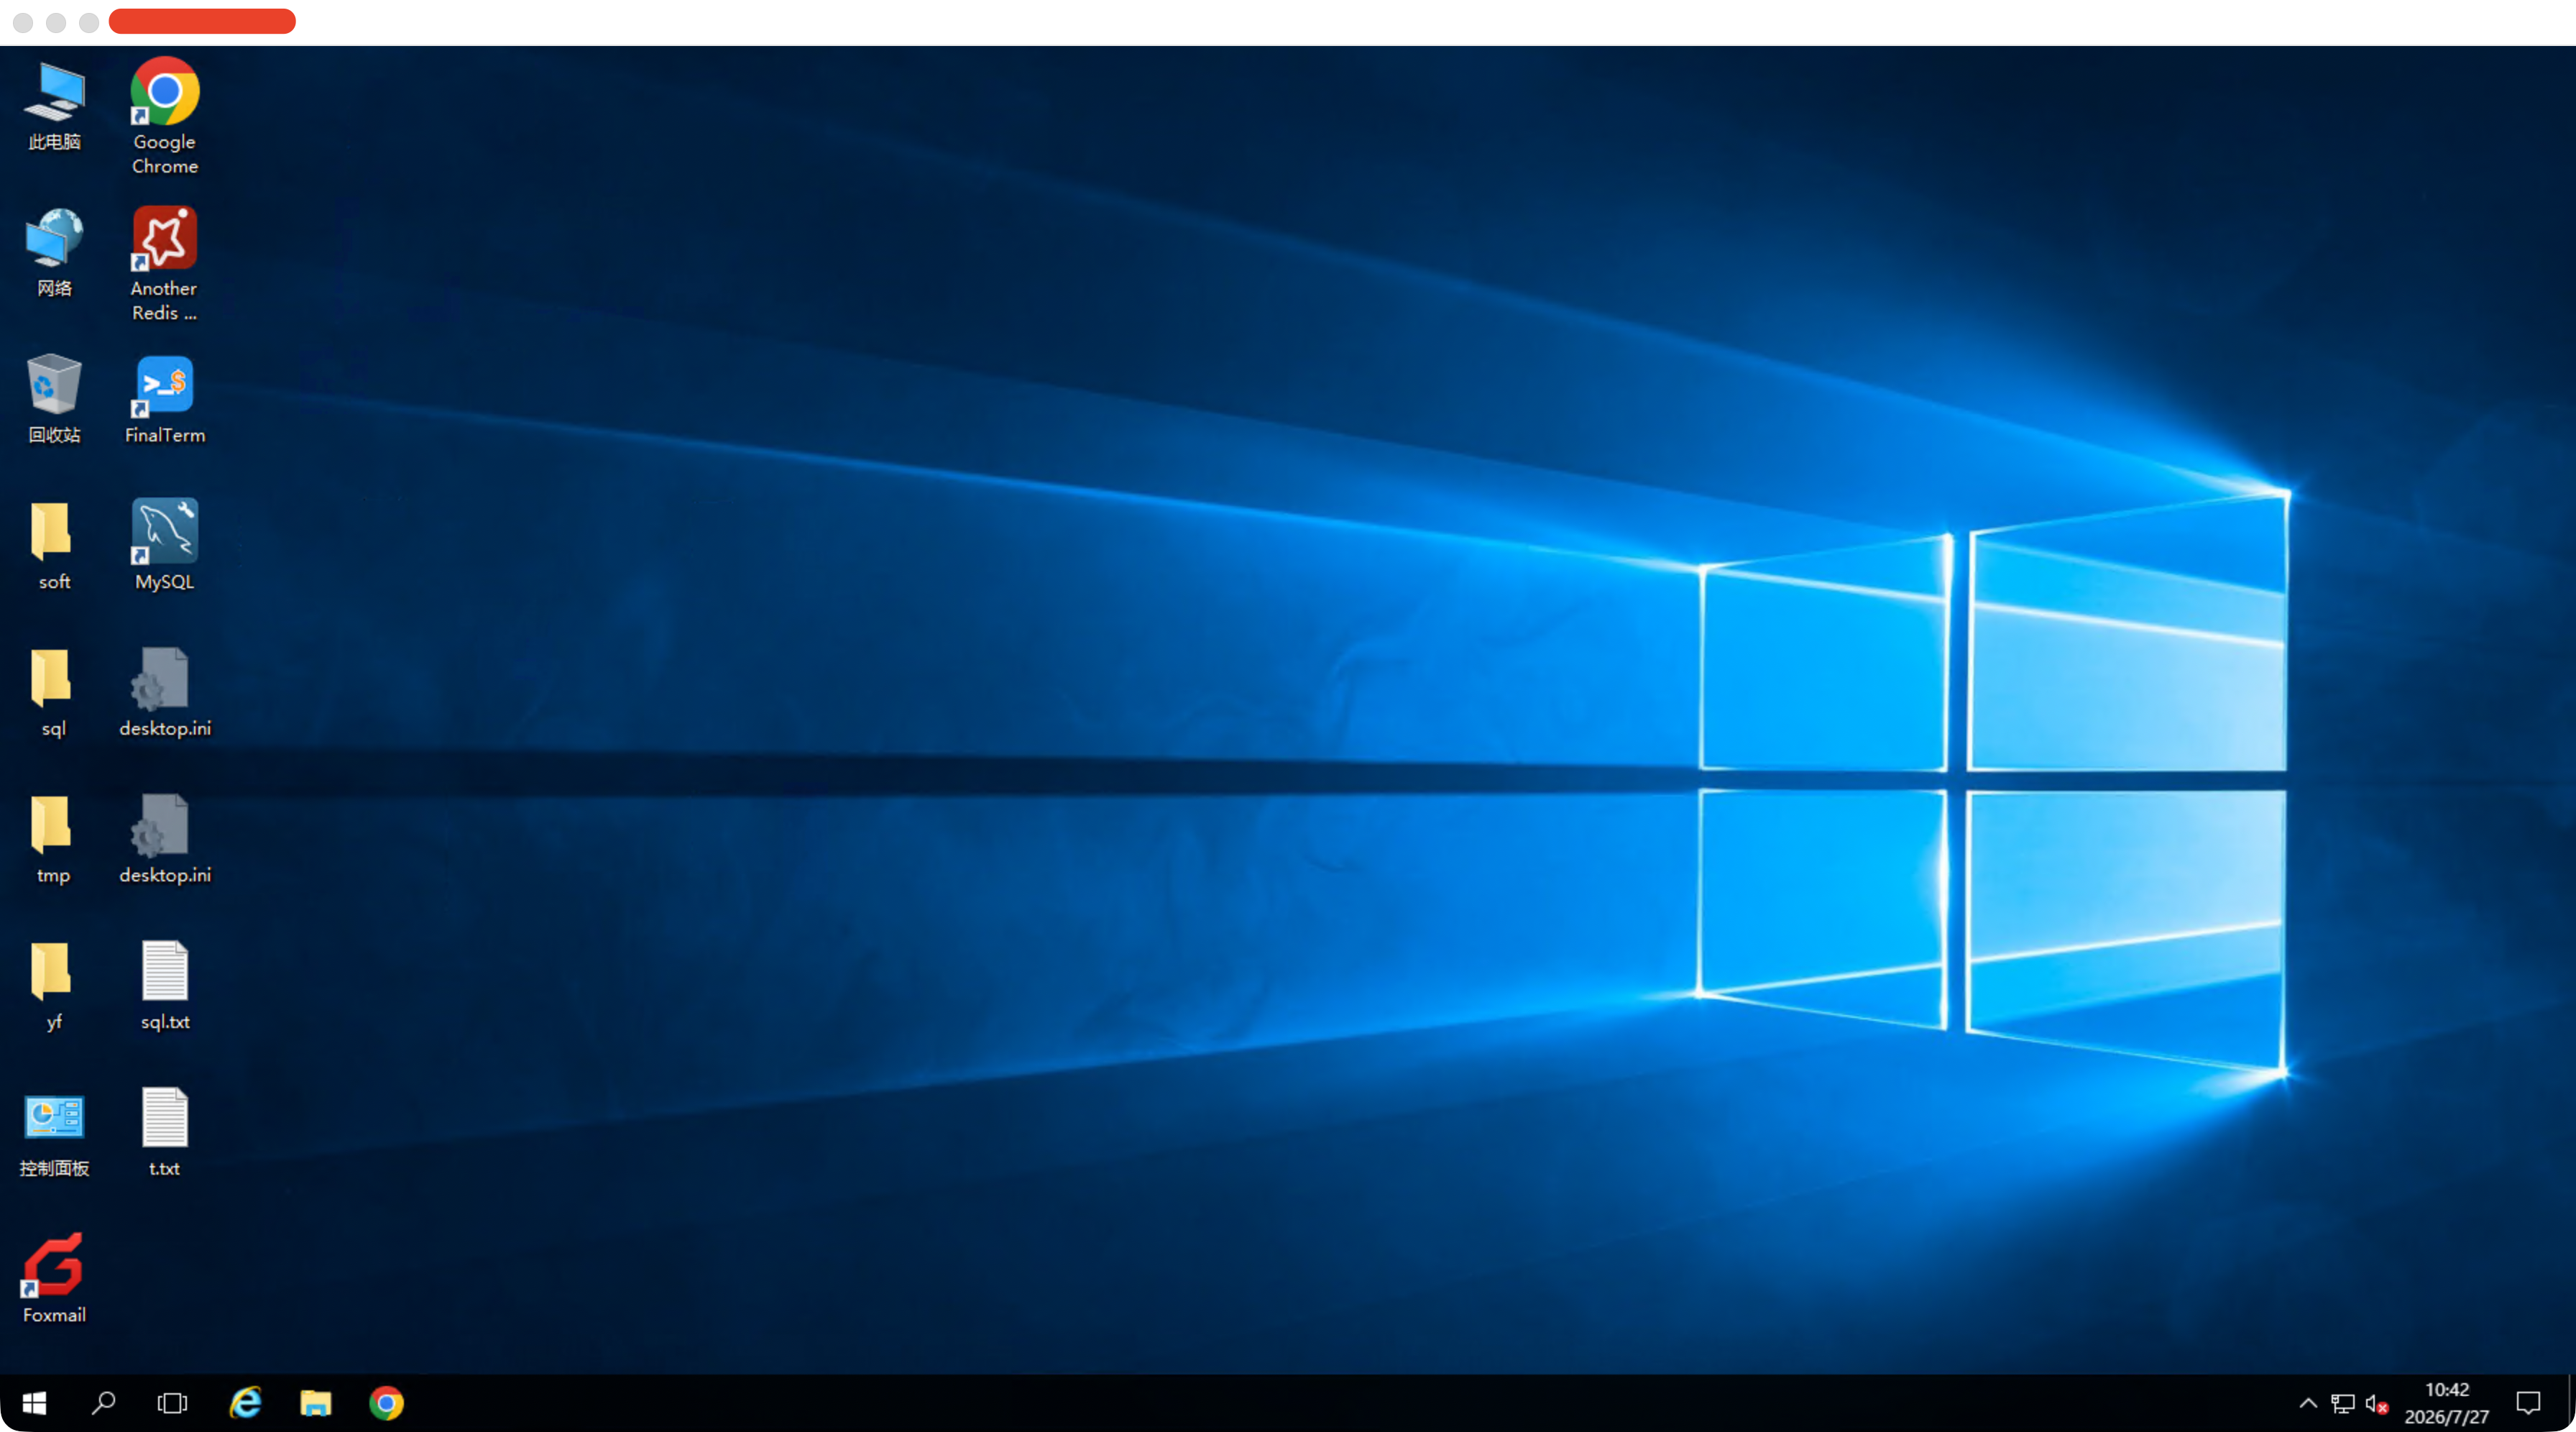 - Select the Windows server you want to connect to from the list, double-click or choose Connect from the right-click menu.
- A separate Windows connection window will appear, displaying relevant connection information. Upon success, you will enter the Windows server operation interface.
- Select the Windows server you want to connect to from the list, double-click or choose Connect from the right-click menu.
- A separate Windows connection window will appear, displaying relevant connection information. Upon success, you will enter the Windows server operation interface.
Export Selected Server or All Servers in a Directory
- Select the server or directory to export, then choose Export from the right-click menu.
- Select the save location for the exported file.
- Enter the password for accessing the exported data, and choose whether the exported data is restricted to the current account only.
- Click OK to complete the data export.
- Default export file name format: FinalTerm_back_YYYYMMDDHHmmssSSS.ft
Duplicate
Duplicate creates an exact copy of the selected server, which is useful for creating backups or quick editing. Directories do not support duplication.
- Select a server record, right-click and choose Duplicate from the menu.
- An identical copy of the selected server will be created. The title will have _copy appended to the original title.
Move
App
On the app, moving data is done through the right-click menu.
- Right-click on the data or directory you want to move, and select Move from the menu.
- Navigate to the destination location, right-click and select Move To.
- The data will be moved to that location.
Desktop Client
On the desktop client, moving is primarily done by dragging with the mouse.
- Select the data or directory you want to move.
- Drag the data to the destination directory.
- The data will be moved to the corresponding location.
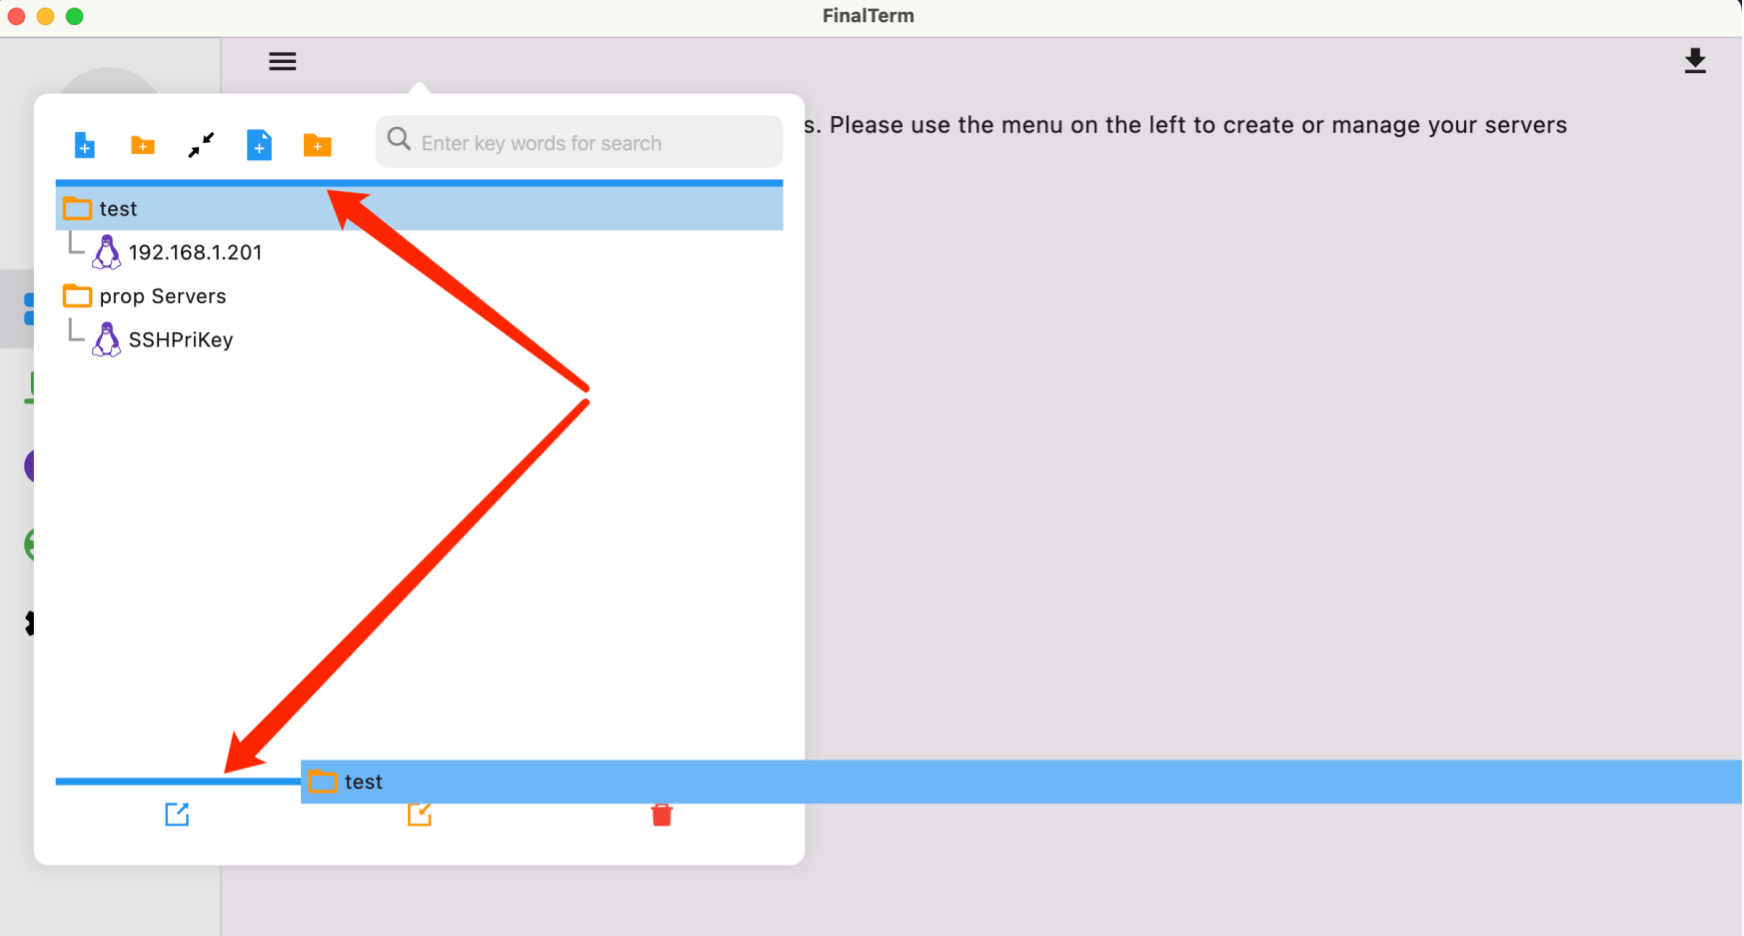
- If you need to move data to the root level, drag the data to the top or bottom edge of the list. When an insertion highlight appears, release the mouse.
Delete
- Right-click on the selected data or directory, and choose Delete from the menu to delete the corresponding data or directory.
- Select the Delete All button in the menu area at the bottom of the management interface to delete all server data.
💡Note: If a directory is deleted, all data within that directory will also be deleted.